The following are examples of specific layout strategies and a couple conditions that prevent an orphan from appearing. Click on the photos to see them enlarged. The descriptions explain where the orphans most often appear and the best approach based on my experience. I will continually add to these as I compile the information. For Purgatory, the orphan will usually, if not always, appear in the third section (after the second checkpoint). For Paradise Lost, the orphan will usually, if not always, appear in the second section (after the first checkpoint). For The Abyss, the orphan may or may not appear in both sections. There are two building structures that indicate an orphan WILL NOT appear if either structure is in that section.
Purgatory: The Open L Corridor

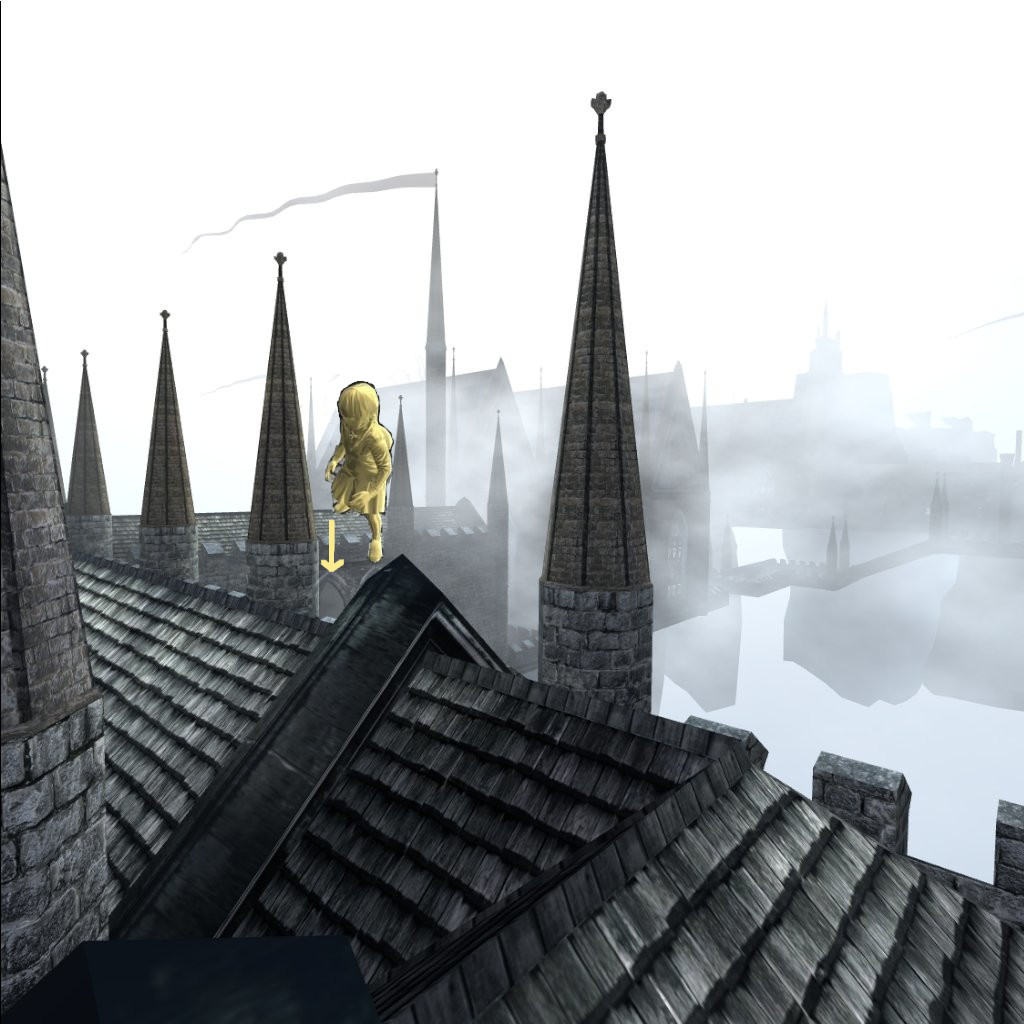
Difficulty: 1/5. In this layout, the orphan is most often located near the top of the L, while the base of the L is usually devoid of enemies. The inside of the L is open near where the orphan usually is, so avoid going on the rooftop near the right side of the base or the orphan might see you. (The second photo is taken very close to a spot where the orphan might see you.) If you carefully teleport behind the corridor, you can clear the area inside the building and deprive the orphan of a good escape route.
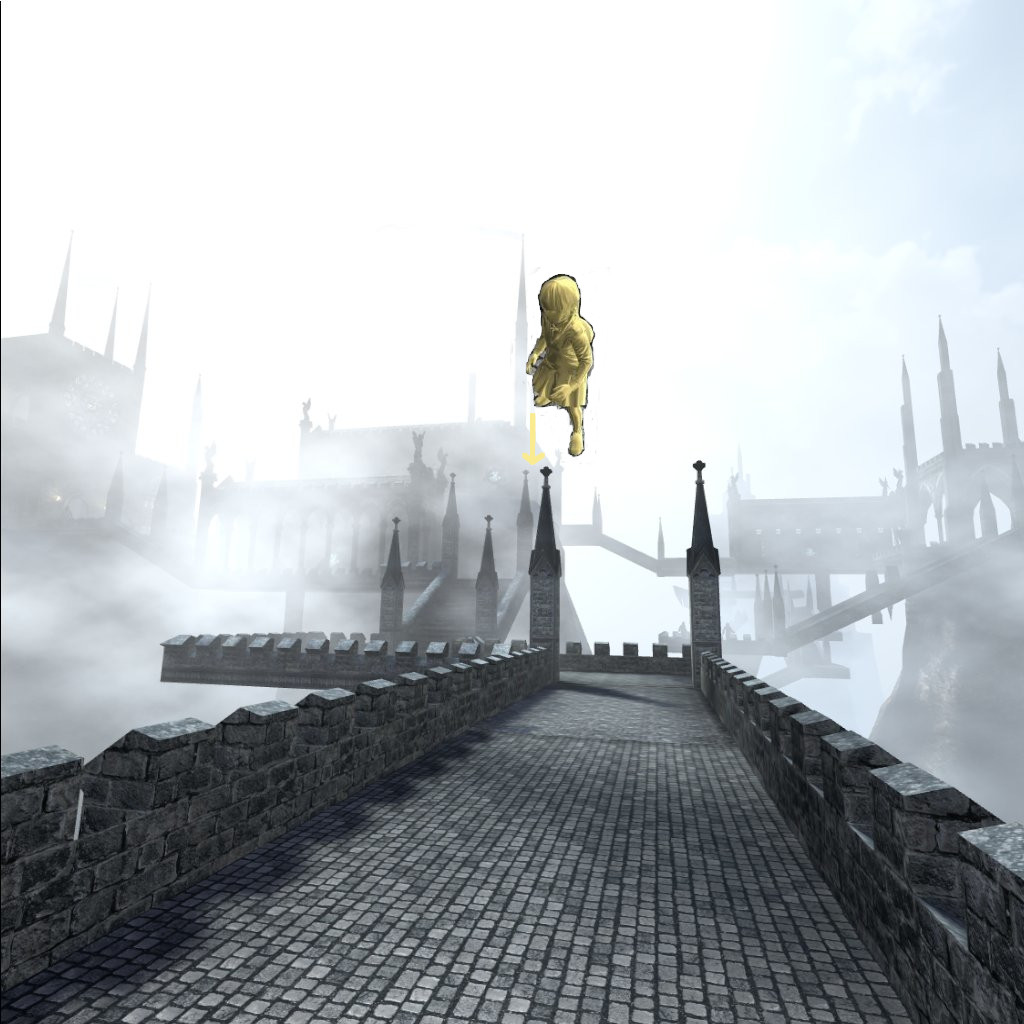
Purgatory: The Guard Tower

Difficulty: 3/5. The orphan in this layout is usually in the corridor facing the guard tower(GT) structure to it's left. As long as you remember to not position yourself on either side of that corrider, you should be able to eliminate nearly all enemies surrounding her. You can either take them out by drawing them towards the reliquary or teleporting to the top of the GT structure. After clearing that area, I'd recommend using rooftops to get to the other end of the corriders connecting to the corridor that she's in and clearing those out as well. Be careful of the courtyard and it's many enemies that are behind the GT, I like to clear that too. If you're able to clear the areas around her, she'll generally only have a few, if any, other enemies in the corrider with her.
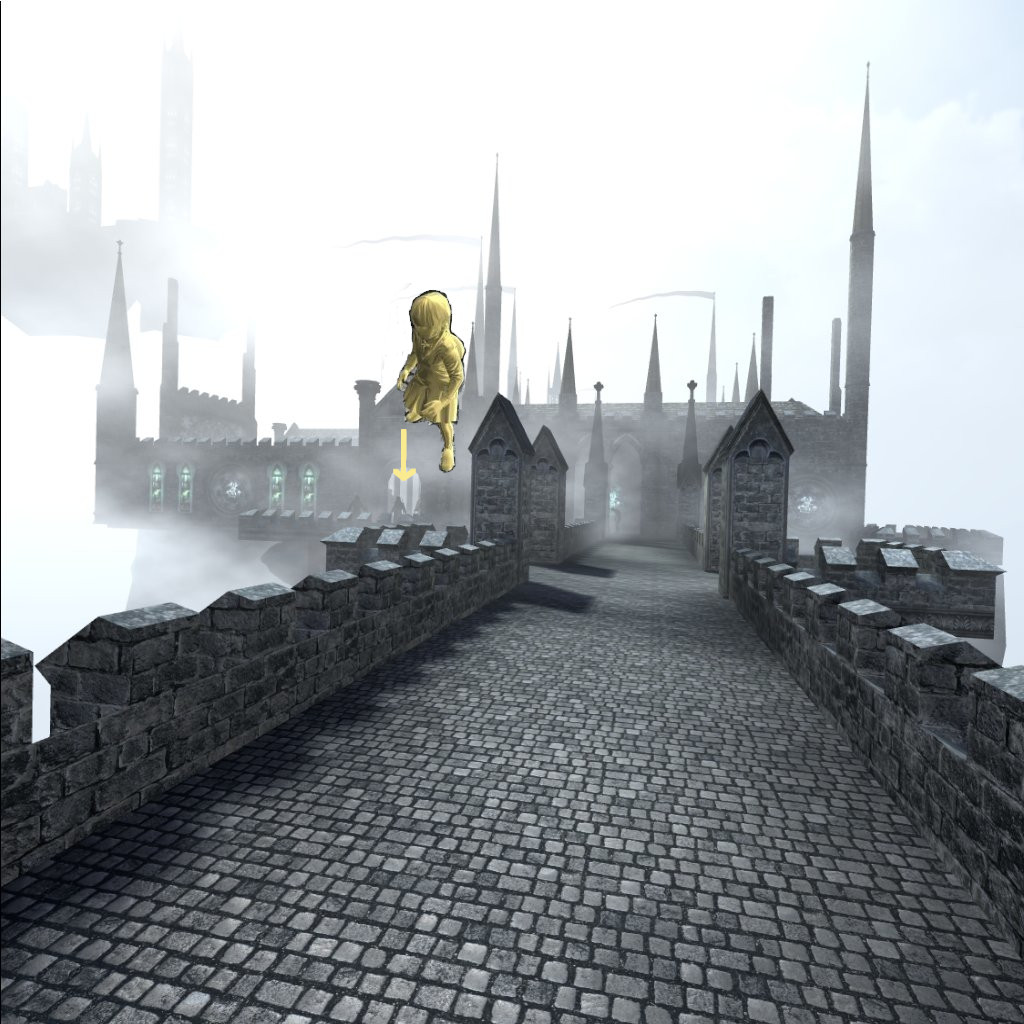
Purgatory: The Warehouses

Difficulty: 4/5. The Warehouses are a set of large, enemy-dense, rectangular-shaped buildings with monks on two rooftops and connected by narrow, winding paths on the ground. The advanced technique of orphan despawing can often be used in this layout due to the number of enemies. The best approach if attempting this is to carefully get to the back of the Warehouses via rooftop-hopping killing as few enemies as possible and without alerting the rooftop monks. If you manage to despawn the orphan from behind the buildings, you can then usually draw a fair number of enemies closest to the orphan's before she respawns.
Purgatory: The Archery Range
Difficulty: 4/5. The Archery Range is an entire Purgatory section arranged in a layout where the entire layout is visible from the front. The orphan is the back part of a 90 degree angle corridor or a raised platform. The front and right sections will be full of archers and knights. Abominations will usually only be in the far-left building with a possible few near the orphan. For most people, it's usually best to clear most of the enemies. Most of the section can be cleared without alerting the orphan. Care must be taken with the one or two archers nearest the orphan if appearing from the right. The near-part of the tall building is safe to teleport to, but she'll often be able to spot you on the rooftop if you move to the part nearest her. The tall building usually has enough enemies for an advanced despawning approach, but one must be ready for a rush if you're in a spot she can see you and she suddenly spawns after you kill an enemy. Be wary of any archers on the nearby platform if you have to rush, those should be the first ones to target if you've despawned the orphan.
Purgatory: The Courtyard Ambush
Difficulty: 5/5. The most difficult rescue of all rescues. This layout will have the orphan in an open Courtyard right after the 2nd reliquary. She will often be positioned so she can spot you well before you get anywhere close to the buildings, although you should be safe by the reliquary. You may be able to draw any enemies near the central opening and monks from the ledge on the right towards the reliquary to reduce enemy density in the escape routes a little bit, but it's nearly impossible to draw any from the courtyard or nearest corridor without alerting the orphan. This rescue will usually be a mob rush. Sometimes the reliquary is close enough to teleport to the far-right platform and will enable clearing the far corridors which may help if the orphan tries to escape to those sections.
The Abyss: The Reverse Barracks (No Orphan)
The presence of this structure means an orphan will not appear in this section. This structure is easy to identify as a watered-down version of The Barracks, one of the most enemy dense structures in the game. The section is turned 90 degrees clockwise so that the small, back-right exit of the set of building now appears in the front.
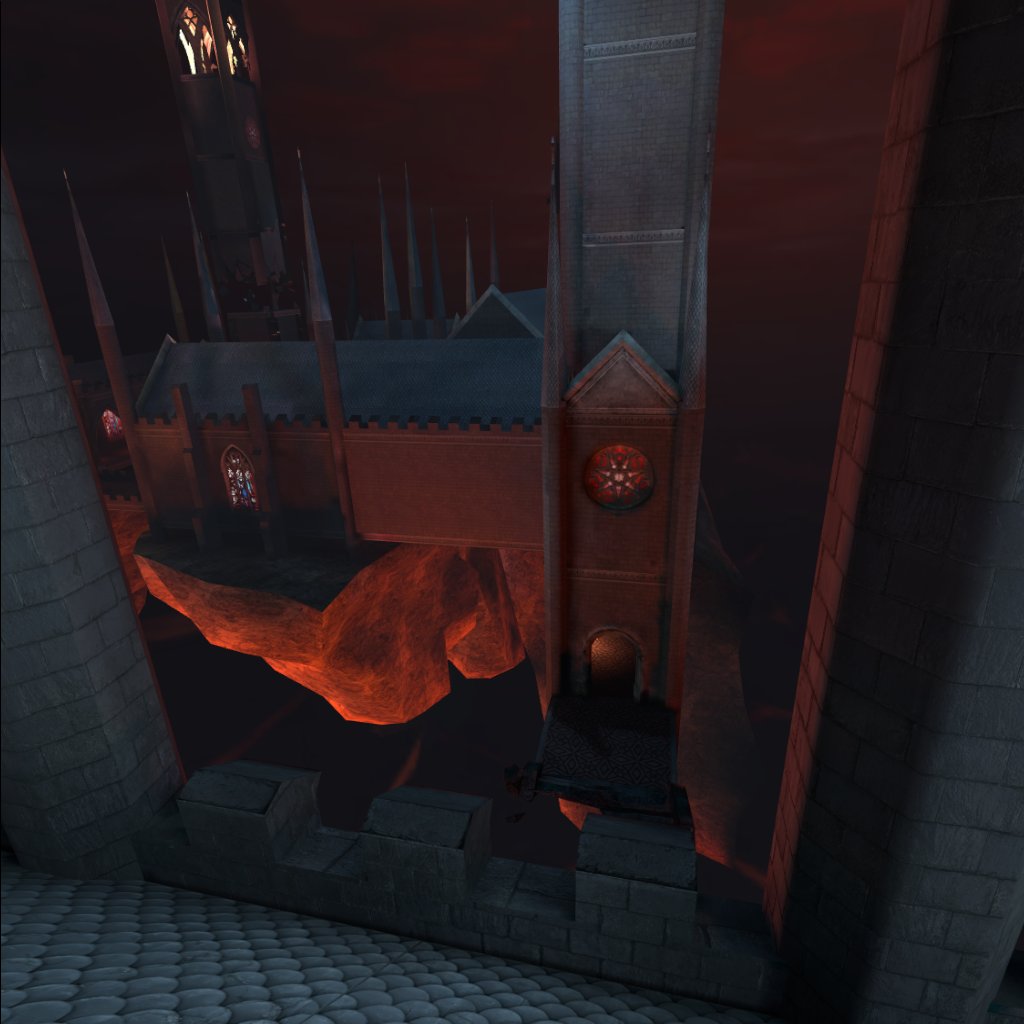
The Abyss: The Summoner's Aviary (No Orphan)
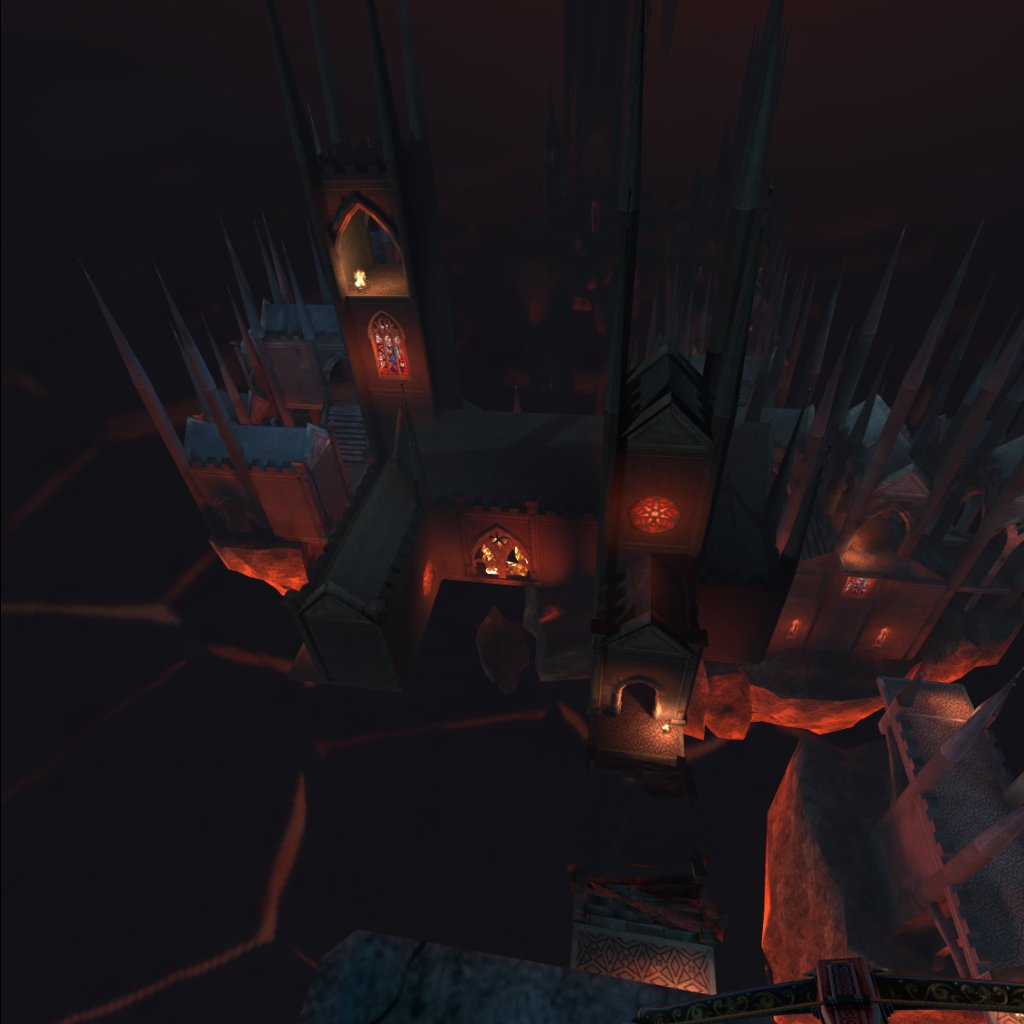
The presence of this structure means an orphan will not appear in this section. This structure will always be behind the back left corner of one of four horseshoe shaped structures(Open/Closed/Courtyard/Knights'). There will be 8-10 cupids patrolling, although only 2 will be visible from the front. The front entrance houses 2 monks. The path straight ahead from the front entrance leads to a banshee then winds aroud to two knights, then down to the Summoner. The path to the right leads to a long walkway with a banshee. The oter cupids will be patrolling just past the front entrance, over the long walkway, and in the far area behind the knights.